Shopify store owners have a great opportunity to build the multichannel business simply in several steps and manage it from one account. Previously, we considered how to set up Shopify integration with Amazon and Facebook, but millions of people search for the needed products on one more e-commerce platform, eBay. This is the place where both giants of the global market and small companies feel quite confident.
Let’s take a look at the tools for setting Shopify eBay integration, and if you have any questions, you can turn to our Shopify dedicated experts.
Contents
Shopify eBay integration benefits
- One of the most crucial Shopify advantages is the synchronization of all additional sales channels with the Shopify store. So, if you decided to try more sales channels, you won’t spend a lot of time on it.
- You still need only the Shopify account for managing your inventory, prices, and orders: you shouldn’t check all your sales channels’ profiles to know if there is a new order.
- You can analyze your revenue from eBay orders with the help of Shopify reports.
- As one of your sales channels, eBay enhances the credibility and recognition of your company.
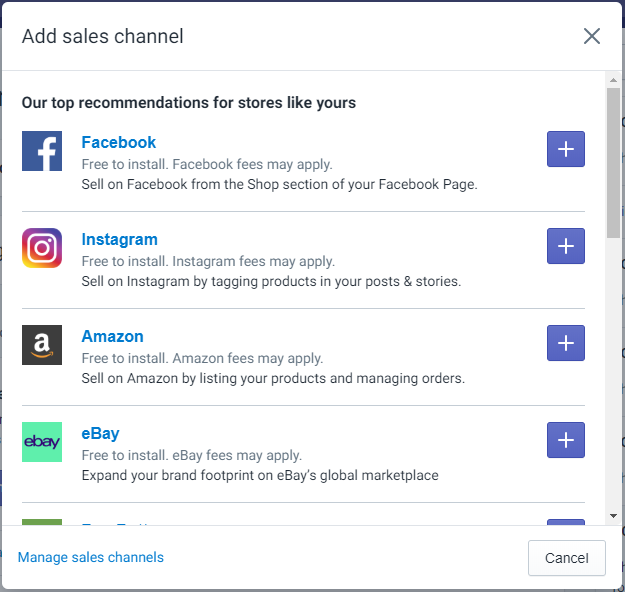
Step 1. Set the connection between accounts
Click the “+” button in the lower-left corner to open the Sales Channels list and choose the eBay channel. It is free and seems easy, but Shopify has come a long way to provide this feature.
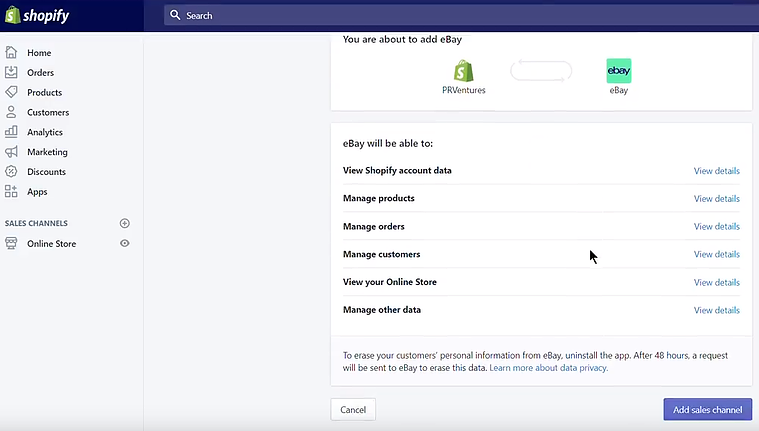
Next, you will see the list of permissions that you provide to eBay, for example, the ability to manage the products and orders.
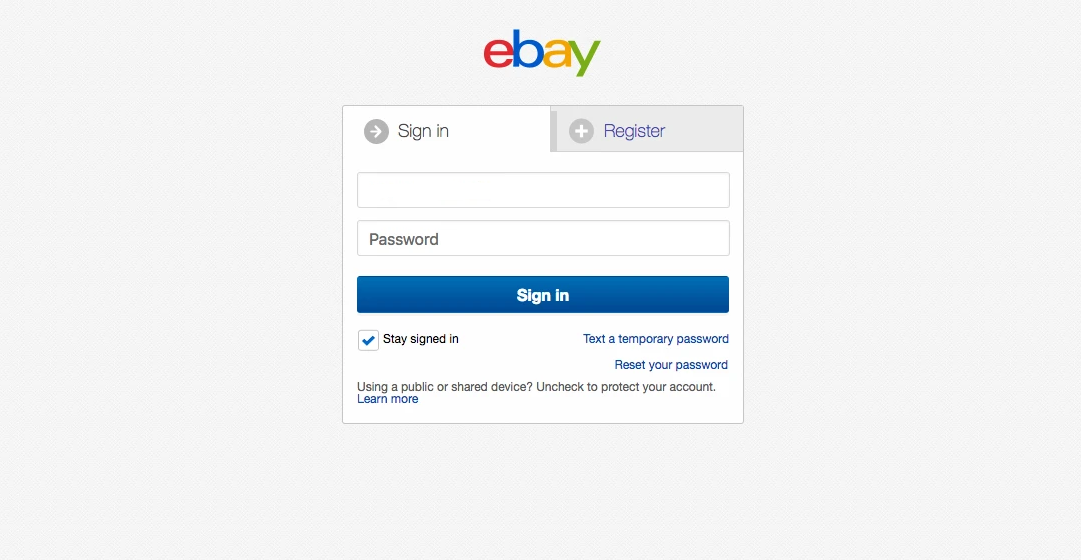
Now you have a pop-up window from eBay, you need to sign in, enter ID and password (if you have the eBay account) or to register (just follow the instructions). Also, sometimes you can get a question about your ownership or the list of goods. This data will be used to verify your account, so don’t try to trick the system.
After that, you should check I Agree to give Shopify access to your eBay profile.
Step 2. Fill in the information for customers on eBay
You should provide information about inventory location, payments and taxes, packages, and shipping settings. eBay can offer you several variations by default. You can also configure data as you need. After you have filled information in all the required fields, you can push the Continue button to return to your Shopify account and review your eBay channel.
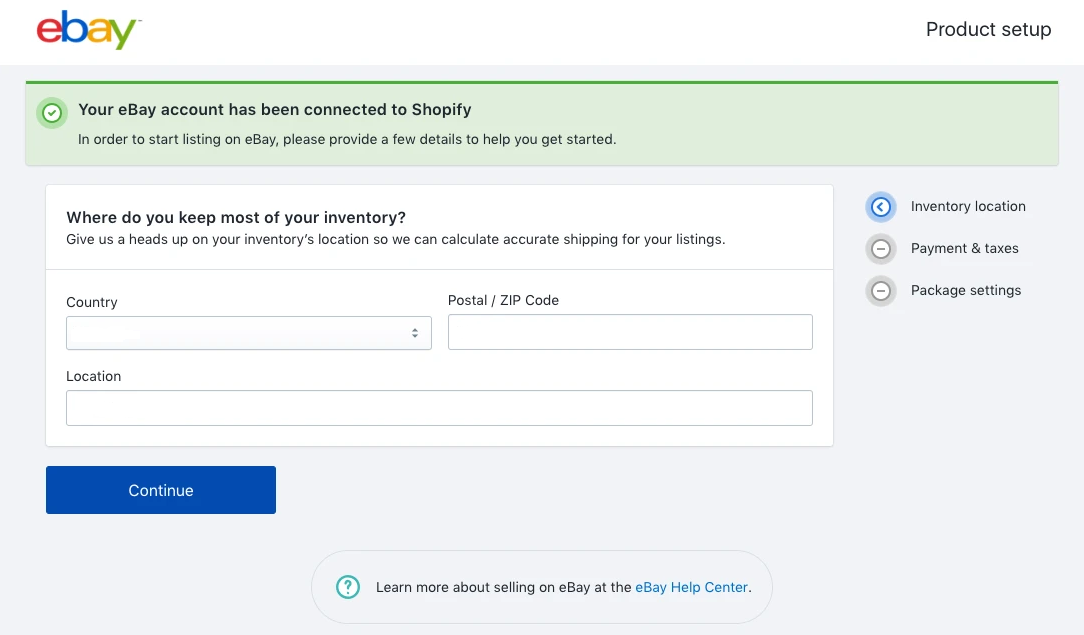
Step 3. Create product listing for eBay
It’s time to create your catalog for eBay. If you want to sell all your Shopify products, push Review and Publish All Products button. If you are going to sell only some of them, you should click Choose Individual Products. In this mode, you should customize several fields for eBay: title, price, inventory, category, etc. Let’s focus on the eBay title.
eBay customers use keywords in searching, so your title should be maximally clear and detailed and include the information below:
- Brand (Nike, Apple, Mattel)
- Model or series (New Balance, iPhone)
- Product name or description (shoes, T-shirt, headphones)
- Color (if it is important)
- Size (or another equivalent)
For example, it can look like “Nike Air Max 95 Essential Men’s Shoes Leisure Sports Trainers White”.
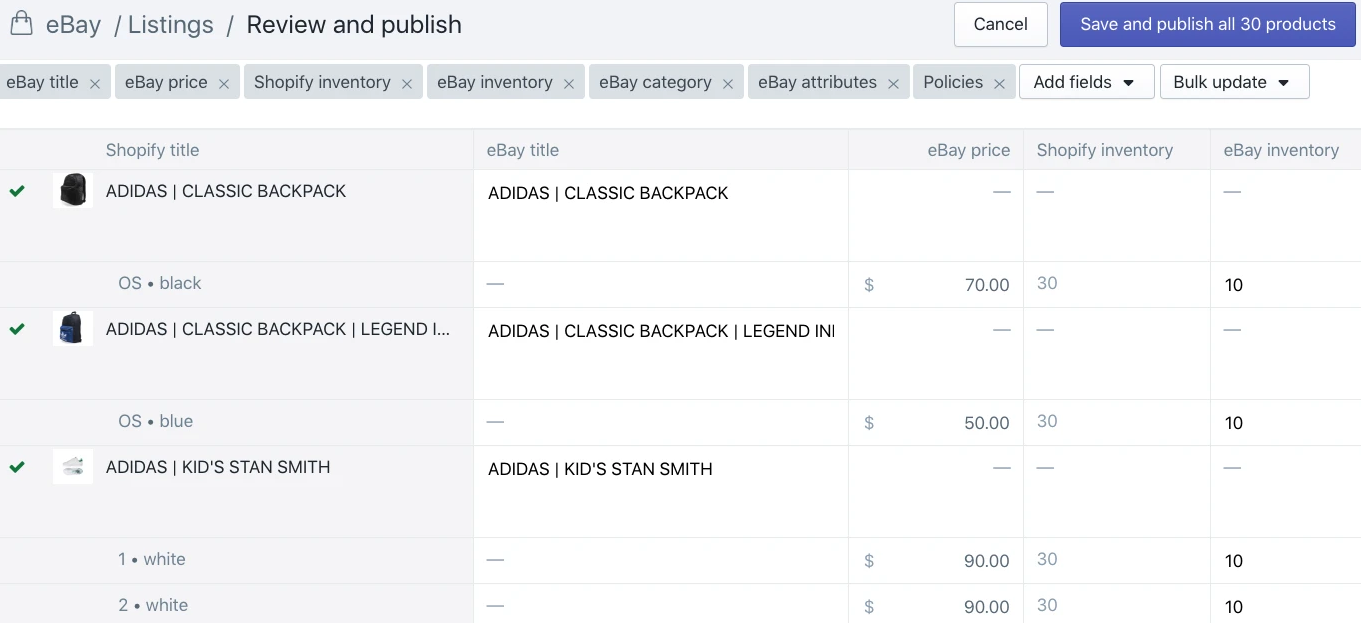
When you finished creating your listing, don’t forget to push the Save and Publish button.
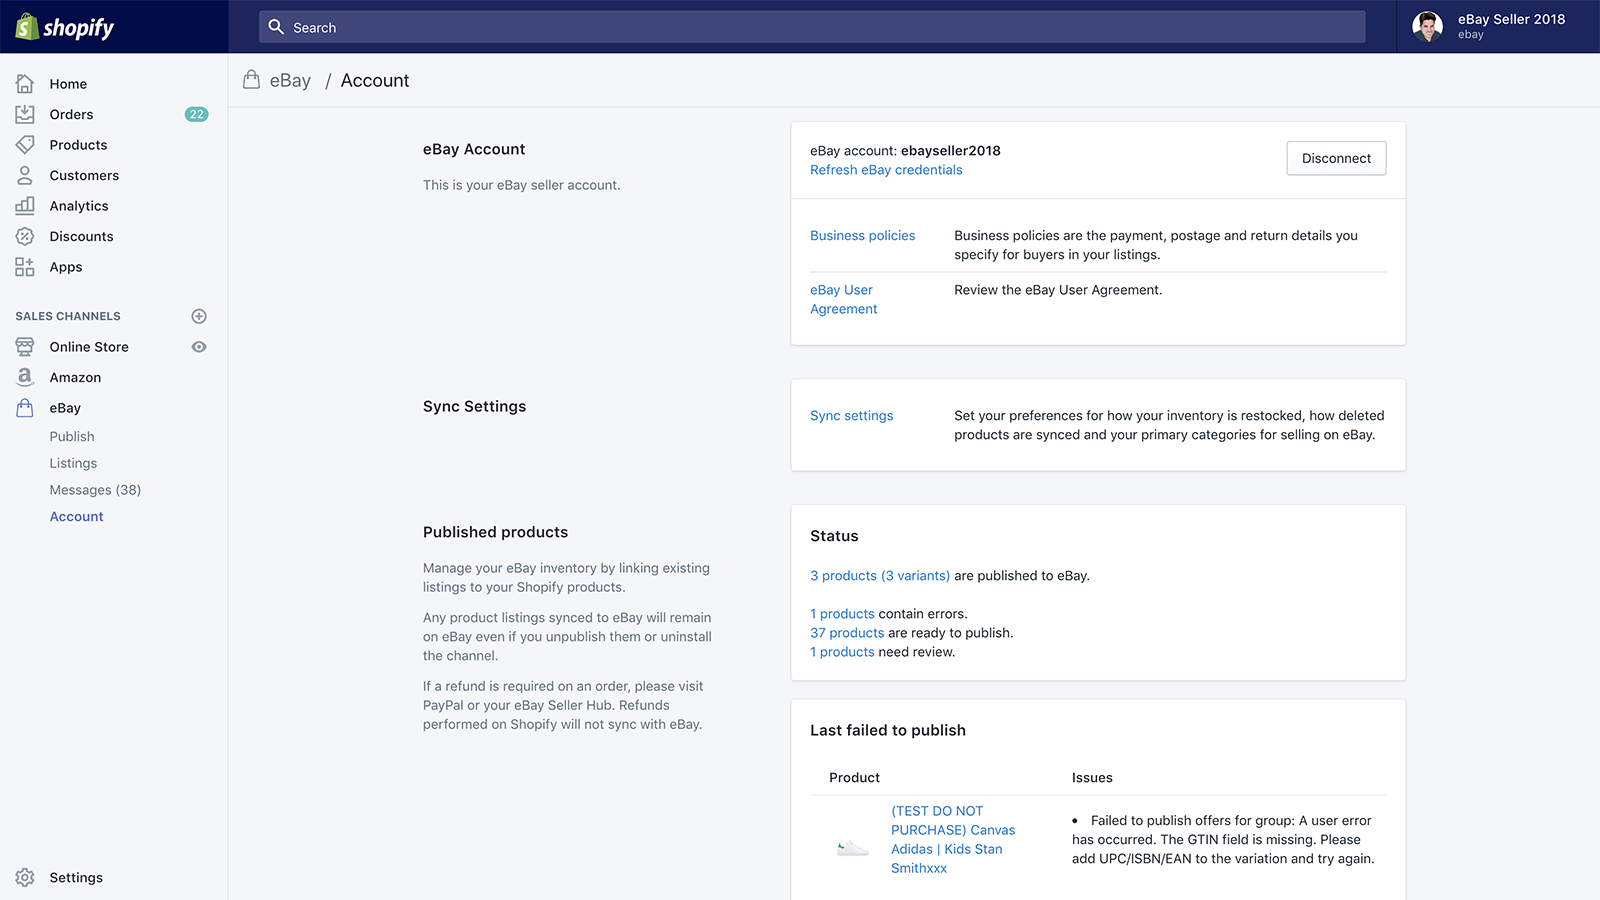
You can review and update your eBay product listing in your Shopify account at any time.
So, now you can manage inventory, communicate with prospective customers, and get new orders.
Don’t forget about the key points
1) When you create the new product on Shopify and want to sell it on eBay, you should mark the “Add to eBay” field. Product publishing is not an automated process; it requires managing.
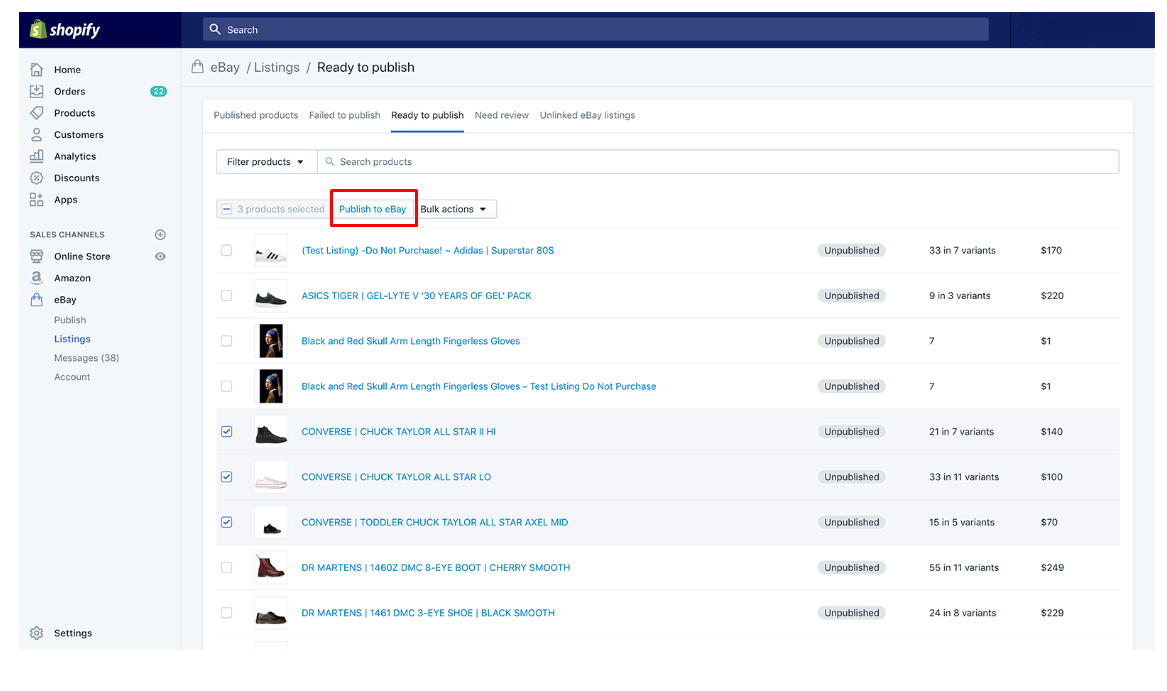
2) You should make changes to your product listings only in your Shopify account. If you make changes via your eBay profile, it will lead to inaccuracy.
Shopify, as a powerful eCommerce platform, provides a lot of opportunities to increase your sales, it will be a good solution to use the maximum of these tools.


